5 min read
From Bees to Bytes: My Journey Building a Simple AI to Protect a Beehive

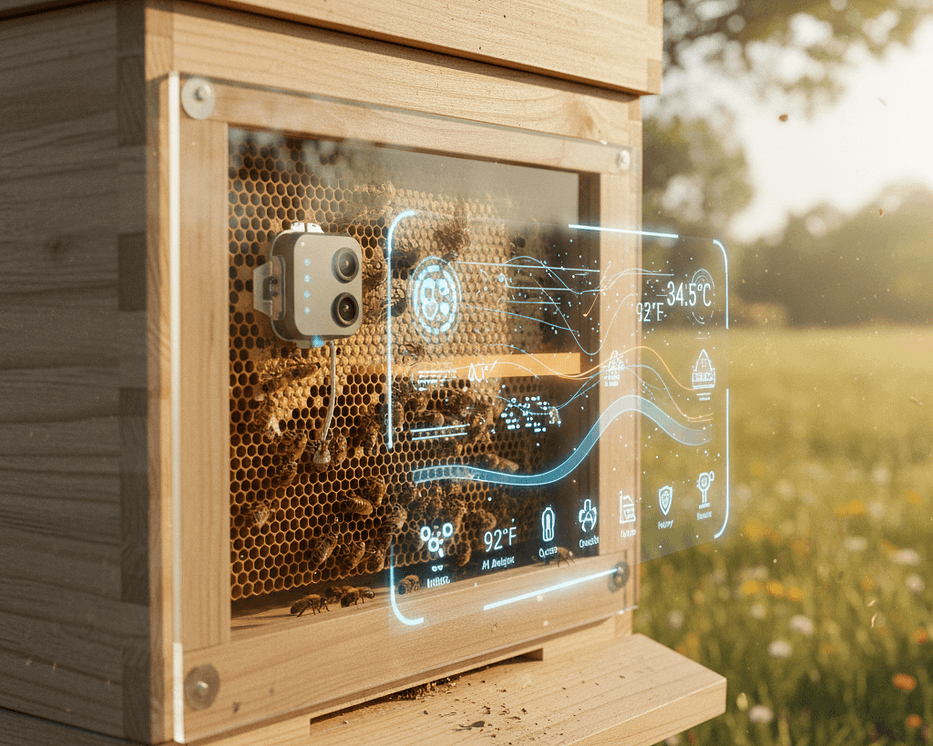
I was sitting there, feeling the warm sun on my skin and listening to the buzzing bees in my dad’s apiary. But my mind was a million miles away, stuck on a huge, overwhelming problem: building my first real-world AI project. I had this big idea for a smart beehive monitor, but going from what I’d learned in tutorials to actually building something that worked felt impossible.
How do you even get started? What tools do you pick? How do you turn a vague idea into something that helps someone? This isn’t a story about a perfect project. It’s about taking one giant problem, chopping it down to a tiny, manageable piece, and learning what real AI work is all about.
Related build: Smart Beehive Monitor project.
The Problem: When Big Ideas Hit Reality#
My first plan was super ambitious. I wanted to build a system that did everything: track hive temperature, check humidity, count bee traffic, and even identify the queen bee. It sounded awesome, but I quickly got stuck in a cycle I call “perfection paralysis.” I had to face a tough truth: I couldn’t build the entire ocean all at once. I needed to pick just one drop.
So, I chose one really specific, painful problem for beekeepers: the Varroa mite. These tiny pests are a huge threat, and catching them early is a big deal. A single infestation can wipe out an entire colony in a season. My goal became simple: train a small AI model to look at pictures from inside a beehive and tell me if it sees a Varroa mite. That’s it! One problem, one solution.
The Approach: From an Idea to Action#
With that clear goal, I got strategic. This wasn’t about creating some theoretical masterpiece; it was about getting a working model as fast as possible. I broke the project down into three key steps:
- Get the Data: I’d put a simple camera inside the beehive to snap a bunch of pictures. I didn’t need perfect data; I just needed enough to prove the idea.
- Train the Model: Instead of building a complex neural network from scratch, I decided to use an existing cloud service. All that studying for my Microsoft AI-102 exam came in handy here! I used a pre-trained computer vision model on Azure AI. This let me focus on solving the problem, not getting lost in the math.
- Build the App: The final step was to make a simple script that would grab a new picture, send it to the model on Azure, and give me a clear “Mite Detected” or “All Clear” message back.
Here's a tip
In the real world, you don't have to reinvent the wheel. The goal is to find the simplest way to get from a problem to a solution. That often means using powerful, pre-built tools like Azure, AWS, or GCP!From Studying to Doing: My Simple Model#
The core of this project was the computer vision model. This is where the magic happens, but it doesn’t have to be complicated. Here’s how I did it:
- Teaching the Model: I took a small sample of my pictures and manually drew little boxes around all the Varroa mites. This is called “labeling,” and it’s how you teach the model what a “mite” looks like. It’s kind of boring, but it’s where you create real value.
- Training: I uploaded those labeled pictures to Azure’s Custom Vision service. With just a few clicks, the service automatically trained a model to recognize the mites. The platform handled all the hard stuff the complicated network architecture, the fast training, and all the optimization.
The final result was a small, specialized model. It wasn’t the next ChatGPT, but it was my model. It was trained on my data to solve my problem, and that felt way more powerful than any generic tutorial.
Here’s a look at the process, conceptually:
1# What the script does:21. Grab a picture from the beehive camera.32. Send the picture to the AI model on Azure.43. The model sends back a prediction (e.g., 'mite detected').54. If a mite is found, send a text alert to the beekeeper!
This simple flow shows what applied AI is really about: getting from a data source to a decision. The cloud service handles the hard work, which lets you focus on building a truly useful solution.
The Takeaways: What I Learned from Not Being Perfect#
Getting stuck in “perfection paralysis” was my biggest roadblock. Here are my main takeaways from the whole thing:
- Start small, and stay focused. Don’t try to build the entire ocean. Find one painful problem and solve it with the simplest tool you can.
- Use the tools that are already out there. You don’t need a Ph.D. in machine learning to build something cool. Platforms like Azure AI, AWS SageMaker, and Google Cloud AI Platform exist for a reason - use them!
- Balance what you study with what you do. My AI-102 studies gave me the foundation, but actually applying it to a real-world problem made everything click in a way no textbook ever could.
- Enjoy the journey! The most valuable part of any project isn’t the final product; it’s the process of solving problems, debugging, and learning new things.
What’s Next?#
This little “mite detector” is just the beginning. It’s a proof of concept that I can expand with more features, better models, and real-time alerts. It’s also a great reminder that even the most complex fields can be tackled one small step at a time.
What’s a big, overwhelming problem you’ve wanted to solve? How could you break it down into a single, manageable piece using a simple AI solution?
Let me know in the comments!